Several years ago, I found a Bond America Ultimate Sweater Machine at the local Habitat Restore for $25. I didn’t know what retail was, and I was pretty sure from the pictures on the box that this was not a top-of-the-line knitting machine, but it crossed my path and that’s enough incentive. My husband’s first grandchild is expected in October, I have bags and bags of yarn from the Spinrite Tent Sale, and I need to turn that yarn into baby clothes quickly. It was time to learn to use the knitting machine.
I opened the box and assembled the parts according to the “start here” instruction sheet. Someone had set up the machine before I got it but I don’t think they had successfully knit anything. The hem did not look like it had been unfolded.
It took several tries to figure out how the hem worked, and how it was supported by the needles. The green bars that lock the needles in place were not in the bed; I tried to attach them hem with only the paper number strip to hold the needles in their bed and that was not successful. Iteration is key. Every failed attempt got me a little closer to success, I hoped.
Eventually, I got to the point where I could run yarn through the shuttle and test actual knitting.
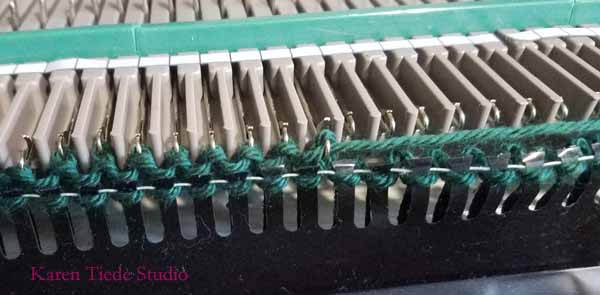
The machine created one full row of stitches and about 8 on the return trip before skipping and jamming. I had been working for about two hours and decided it was time to quit for the day.
The next day, I came back with fresh eyes and all of the knowledge contained in the Amazon reviews for the product, as well as the troubleshooting guide on the Boyd America website. I did not get much farther. I tested the carriage extensively without any yarn at all and cannot get 20 back-and-forth passes without a jam.
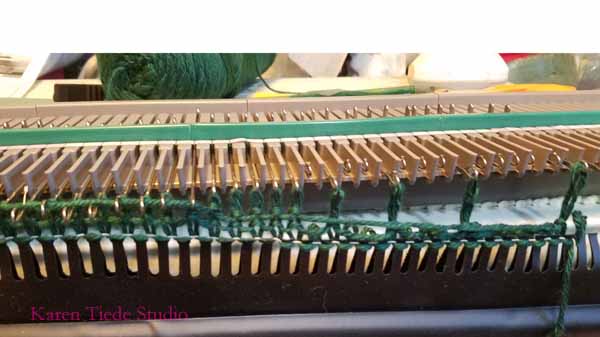
I ran a little bit of yarn, and tested both heavier and lighter weight yarns, and didn’t get better result. It is frustrating.
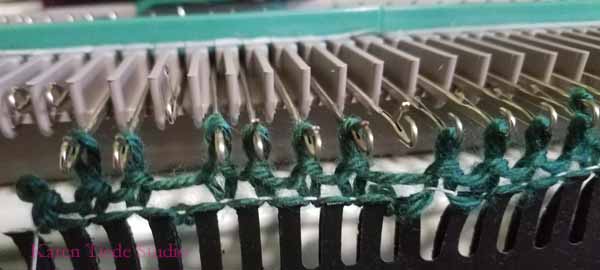
The four- and five-star reviews on Amazon tell stories of being able to knit out an entire skein of yarn in 20 minutes. This is bait. I want to make baby sweaters and sleeping sacks and there’s a lot of straight knitting that could be knocked out quickly on a machine, leaving the fancy bits to be done by hand. The one- and two-star reviews were written by people who couldn’t master the machine and gave up. For $25, I can afford to quit.
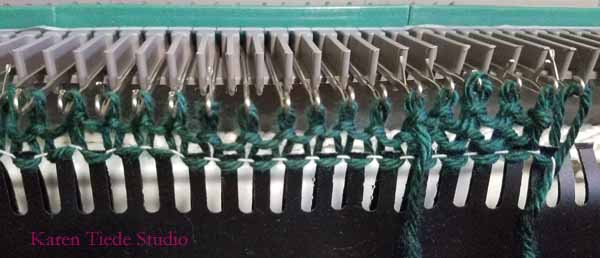
Eventually, I packed up the machine to bring it to my husband’s house for the weekend where we can work on it together. While the machine was dead level, it was not bolted to a solid surface. We have a heavy desk that may be ideal. There was no silicone lubricant in my house; candle wax isn’t the same thing.
The little bit of work accomplished so far has given me a much better appreciation of how commercial knitting machines work. I want to see the needle bed for the machine that makes stocking hosiery; I can’t imagine what the maintenance looks like.
Stay tuned.
Interesting. Looking around for links and discovered that Spinrite owns the Bond company now. Also discovered a Facebook Group for USM Knitters. There are lots of discussions about jamming machines and encouragement to continue. I wanted to be able to create much more quickly than I could by hand and the Facebook group gave me reason to keep trying.
Adjusting the Bond Ultimate Sweater Machine Carriage
Securing the bed of the knitting machine to a straight and level board or solid table is critically important; the clamps press against metal stiffening rods under the bed and help keep the plastic from jumping. It took a while to find a table that worked and eventually, I used a 2×6″ board that was long enough and rested that on top of a short end table.
Using a board and adding a strip of foam under the needles to stablize them as they moved through the plate allowed me to get 100 back-and-forth passes over the carriage, which was better than I had done when using the knitting machine on an ironing board.
However, loading the needles with the weights caused more jamming. Eventually, I realized that the loaded needles were pulling forward and tipping up into the air just enough to strike the sides of the carriage as it moved along the bed. Someone on Facebook had suggested filing down the sides of the carriage so it would pass over the needles more cleanly. I marked where the carriage struck the needles in both Working Position (WP) and Forward Working Position (FWP) and filed out a space.
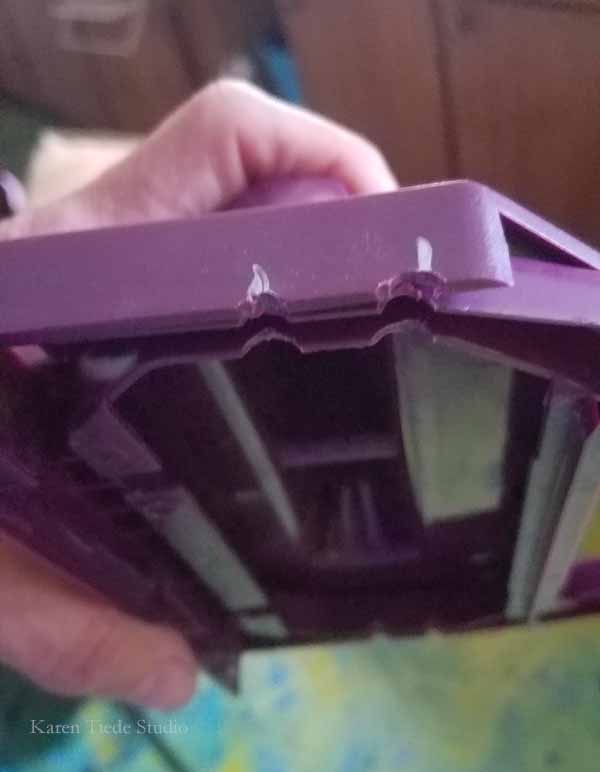
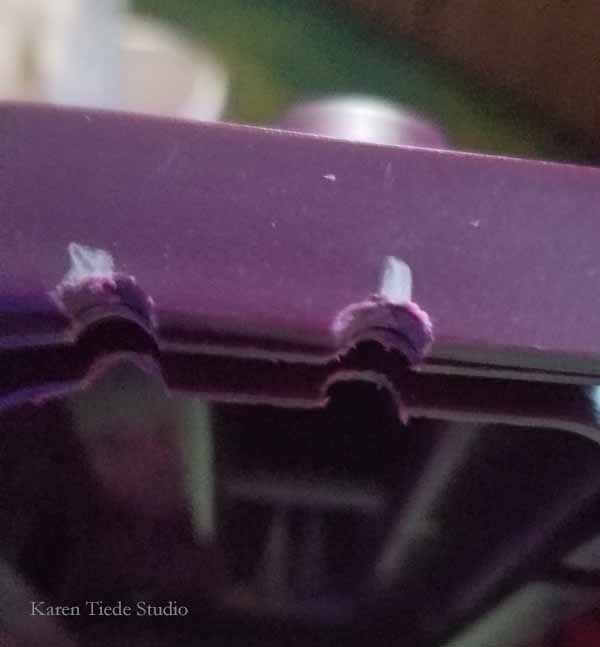
Success! The first pass after filing down the carriage was a breeze compared to all the troubles I’d had trying to get one complete row of stitches earlier.
I lost track of the yarn and dumped the second row onto the floor, but started over and made real progress.
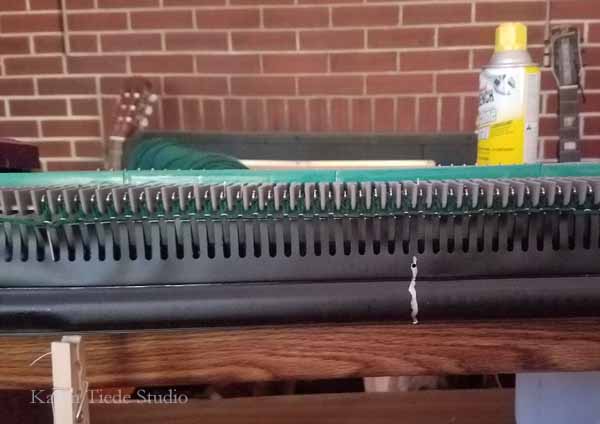
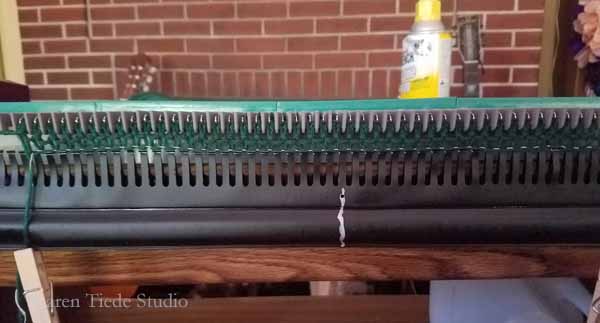
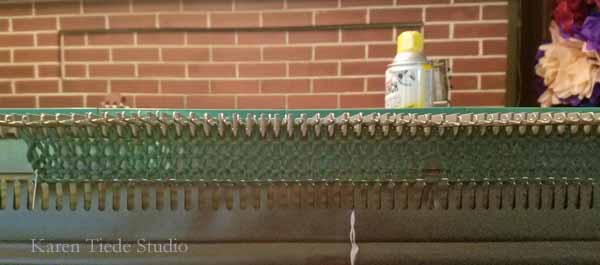
At this point, it was time to get ready to go see Avengers Endgame, so I didn’t cast on and try again.
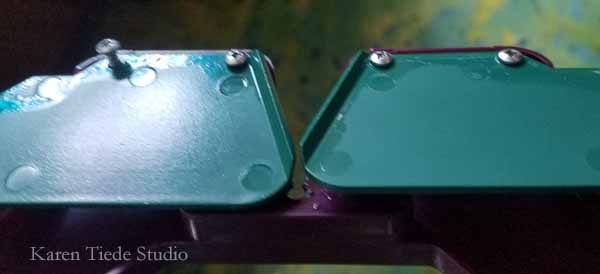
Given that the tail end of the needle is a little higher than it is intended to be, it follows that the front end, at the hook, is a little lower. As a result, the needles are catching the green plates under the carriage less than smoothly and sometimes jam. The same person on Facebook suggested removing the green plates and lowering them slightly by inserting a washer between them and the carriage. They are tightly screwed in. This picture shows them waiting for the lubricant to do its magic on the screw threads.
