A friend is cleaning out his house and this boxed string art sailing ship was leaning against the wall. It had been his wife’s; she died a few years ago. I asked if it had any special meaning to him or his grandson. He didn’t want to keep it.
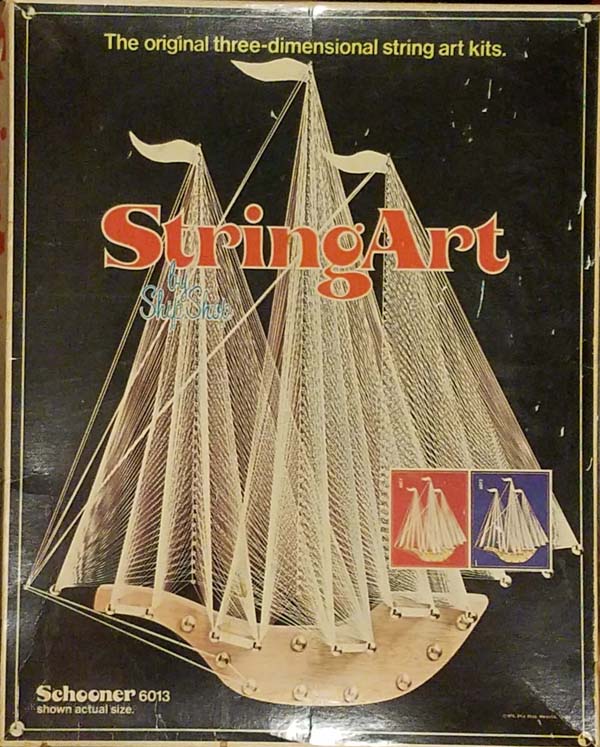
Something about the ship just clicked. I had to make it. I had seen a similar ship made with copper wire or thread in an antique store several years ago; it was beautiful. It didn’t last, either–it sold very quickly. Don’t remember the price.
The box sat in my studio through Christmas, and then on New Year’s Eve afternoon, I got started. Red felt doesn’t go with our decor; we had leftover synthetic suede fabric from making dog beds that did work well. I cut a piece of fabric, ironed it carefully (the instructions suggest ironing after gluing fabric to the backing board but that was risky), and attached the fabric to the board with hot glue. (The instructions suggest using white glue; I didn’t want to wait for it to dry and I had a glue gun handy.)
The boat shape needed a bit of sanding and a wipe with the same purple paint we used on the front door. I left it transparent rather than adding a second coat for opacity; we thought it looked more nautical that way.
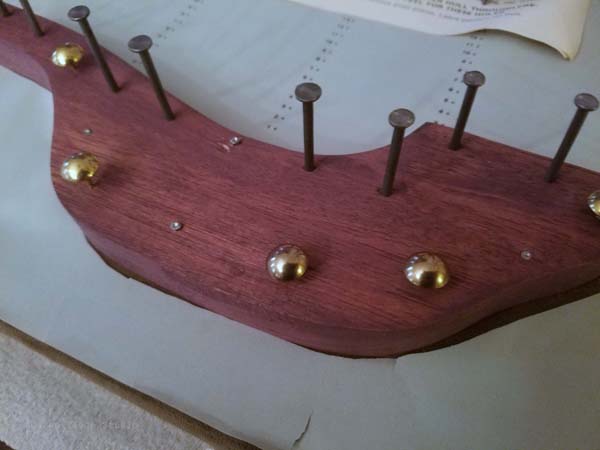
First, you have to cut the ship’s shape out of the full-size paper pattern, then tape the pattern to the board and to the ship.
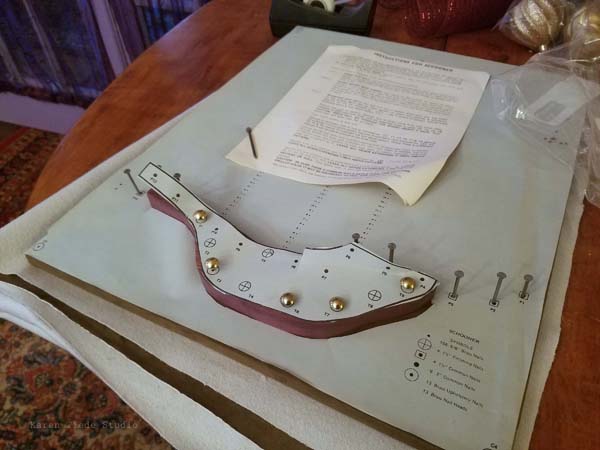
Nail the ship to the board (nails will go through the board and have to be bent over, and for me, padded so they didn’t scratch the table), then add decorative tacks, nails for the rigging, and tiny brass brads for the masts. It was hard to get the brads nailed straight, evenly, and deep enough.
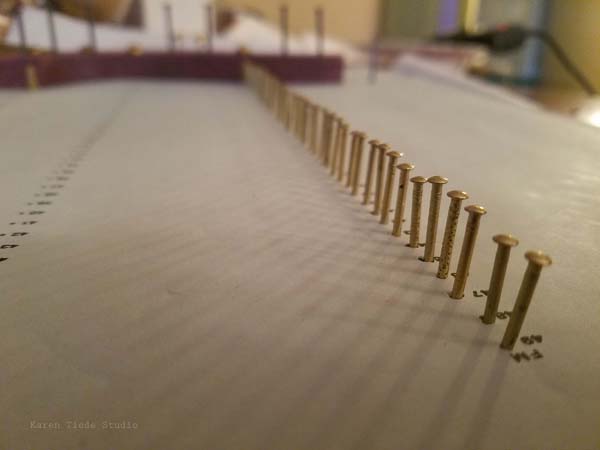
If you make a string art kit, make sure to think through which part of the tiny brad nailing to start on, so you have room to rest your non-dominant hand. I almost started the wrong way, which would have made nailing the last 100 brads more work than it was.
When all the nails are nailed, tear the paper away from the board. It will take a bit of work with tweezers to get every little bit of paper off the backer.
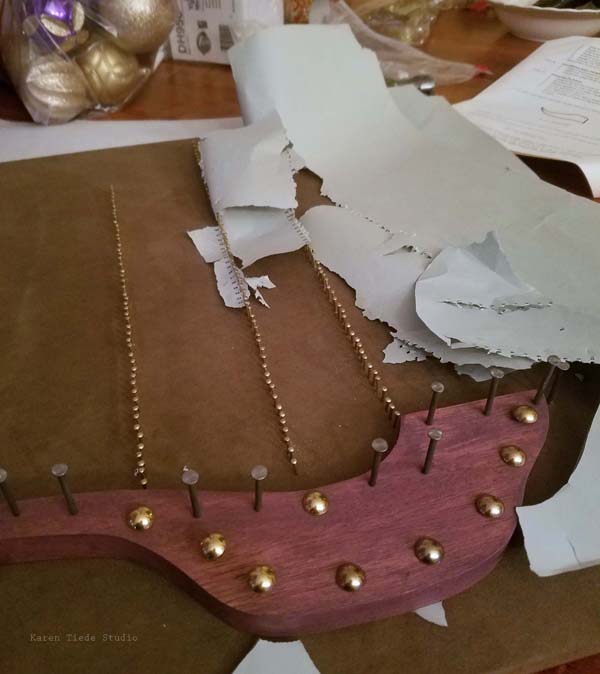
Here is the board all nailed up, ready for thread work.
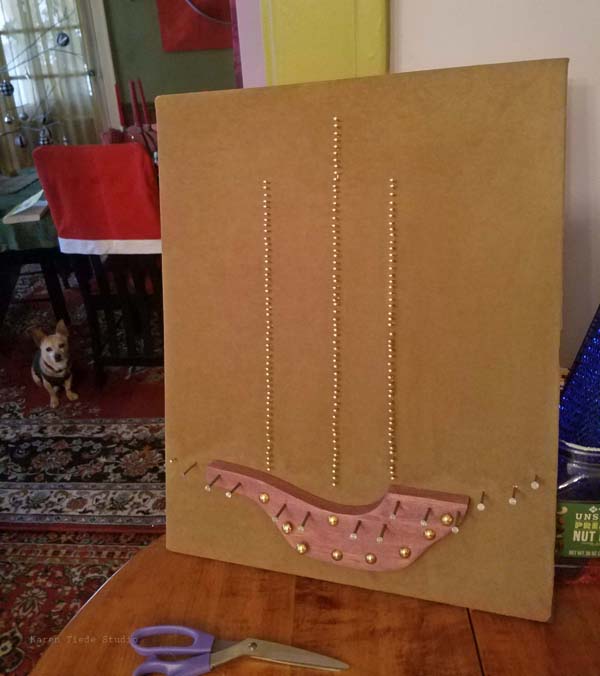
I adjusted that gappy bit on the right hand mast before going any further. May have missed a brad.
The project sat a while before adding the sails.


